How to download and install RescueTime for Windows
In order to track your websites and desktop apps, you'll need to download the RescueTime Assistant. Here is a rundown of the steps to download and install RescueTime on your computer.
1. To get started, you just need to download the RescueTime Assistant. It's super easy to do, just click here and hit the Download button.

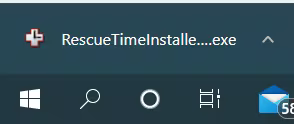
2. After clicking the Download button, find the file named “RescueTimeInstaller_X.exe” in the lower left corner of your desktop and click on it. This file may also be located in your Downloads folder assuming that’s where you chose to save all your downloads.
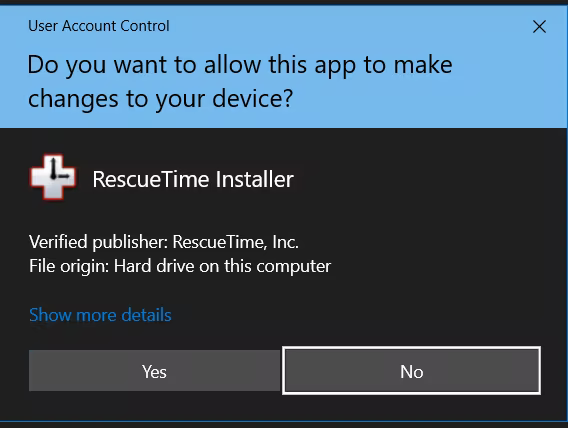
3. The RescueTime Installer will pop up asking you to allow the app to make changes to your device, click
Yes to start the setup process.
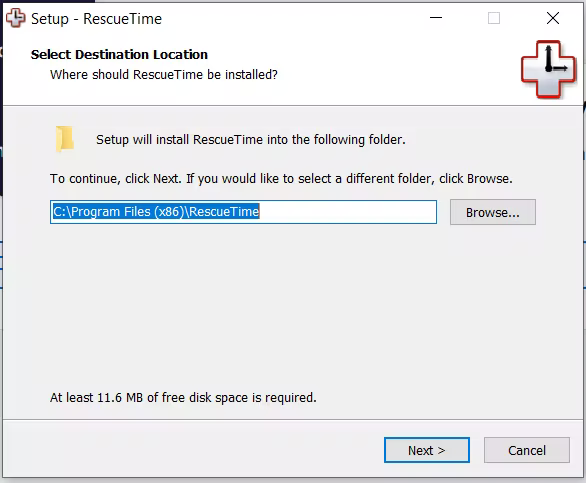
4. The Setup window will open asking where RescueTime should be installed in your computer. If you’d like to change the location of the file click
Browse. If not, then click
Next.
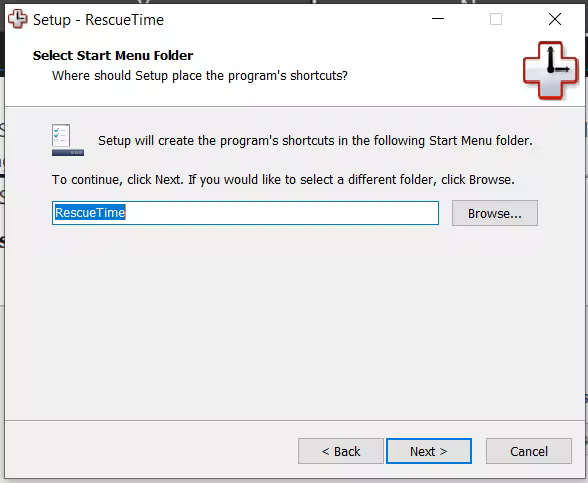
5. Here you’ll be asked where you want to place RescueTime’s shortcut folder. If you’d like to change the location of the file click
Browse. If not, then click
Next.
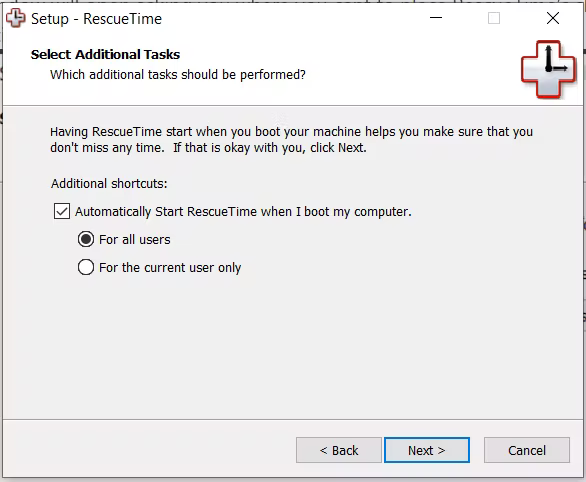
6. Here is where you can control whether you want the RescueTime to auto-start when you turn on or restart your computer. If you can't decide now, then uncheck that additional shortcut. You can always turn on the auto-start later. We
share how here.
7. Now to install the RescueTime app, click
Install.

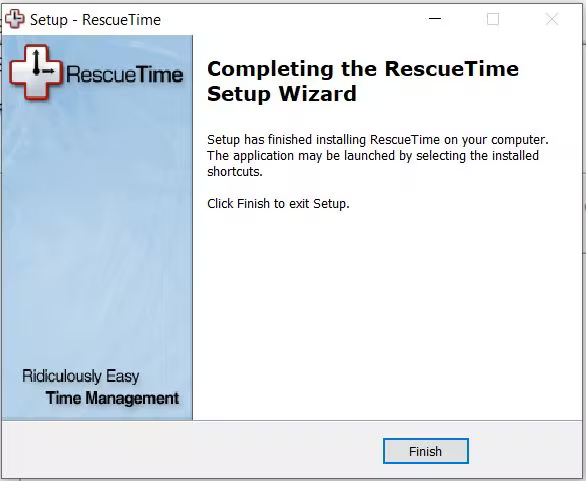
8. Once your RescueTime app is installed click the
Finish button in your Setup window.
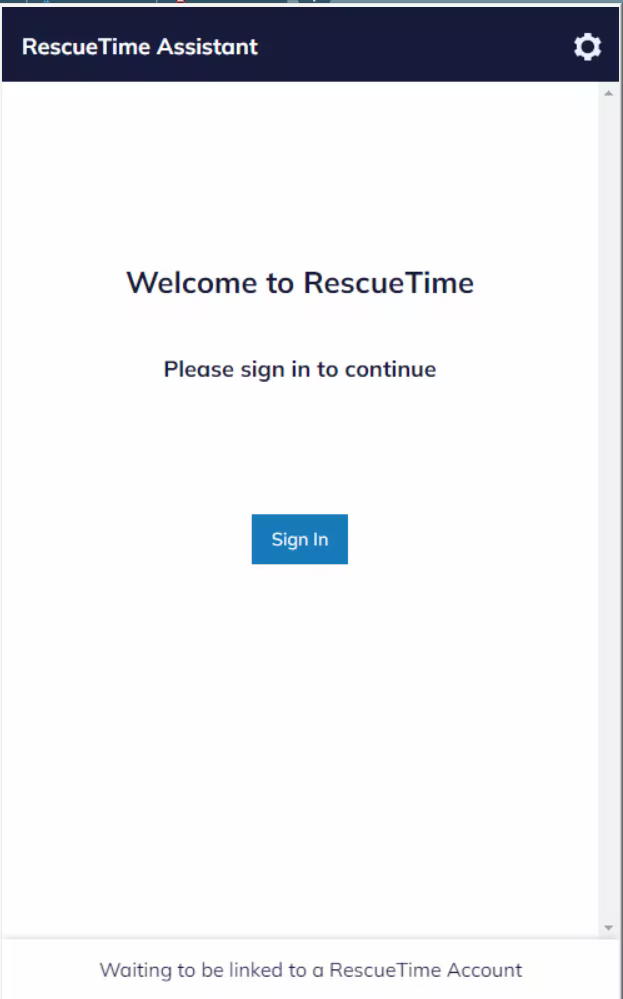
9. Your Assistant should open in your system tray asking you to sign in. Once you click the
Sign in button you’ll be taken to the RescueTime website to sign into your RescueTime account.
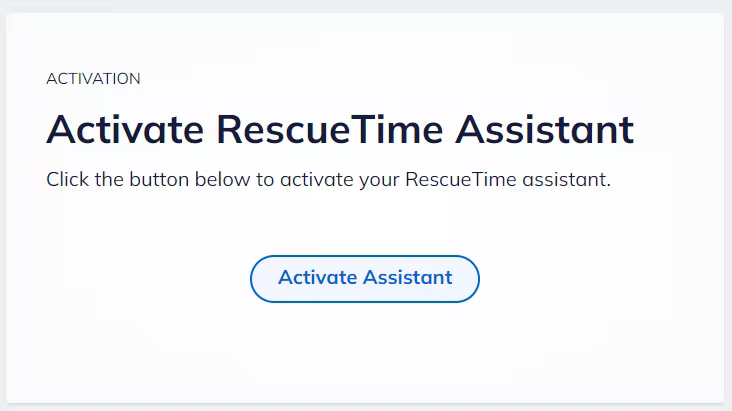
10. After signing in, click on the
Activate Assistant button.

11. Once activated this is what your Assistant will look like when you open the RescueTime icon on your system tray.

Then you will be able to experience the magic of RescueTime.